This article covers two things:
How to set up a new client
How to view and manage clients and projects using the updated client views
Before you can start work, you’ll want to set up your client in Outlign.
Go to your Client Dashboard
Click Add a new client in the top right
Enter the client name and choose a colour to help visually organise your workspace
Click Create Client
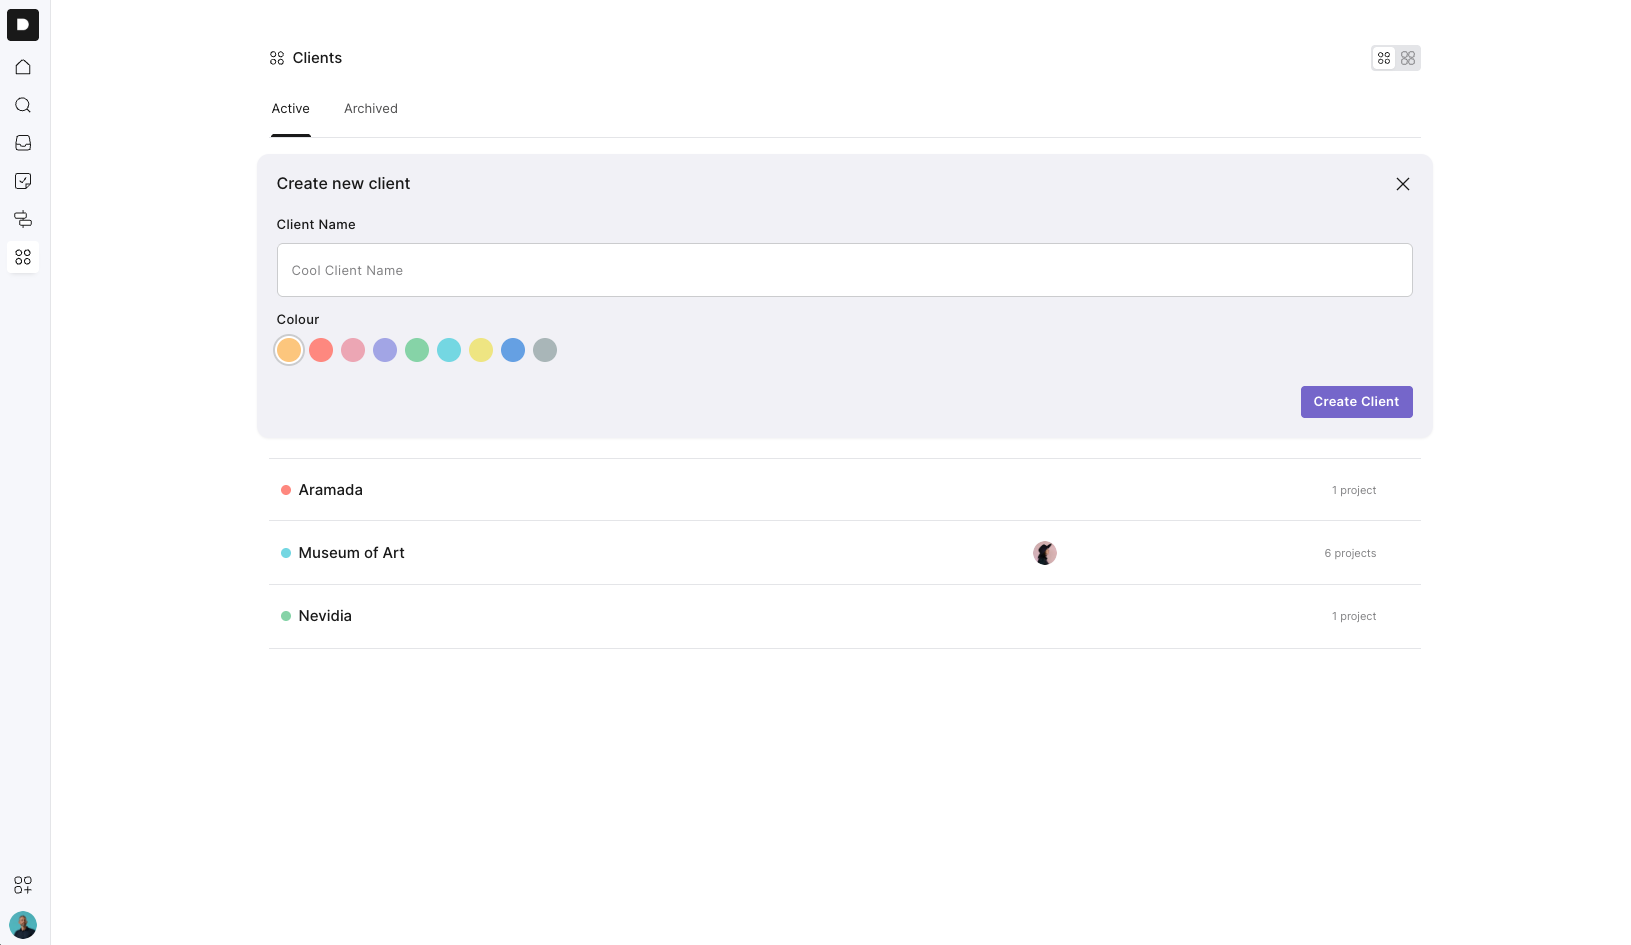
Your client is now ready to go. From here, you can start creating projects and inviting team members or client collaborators.
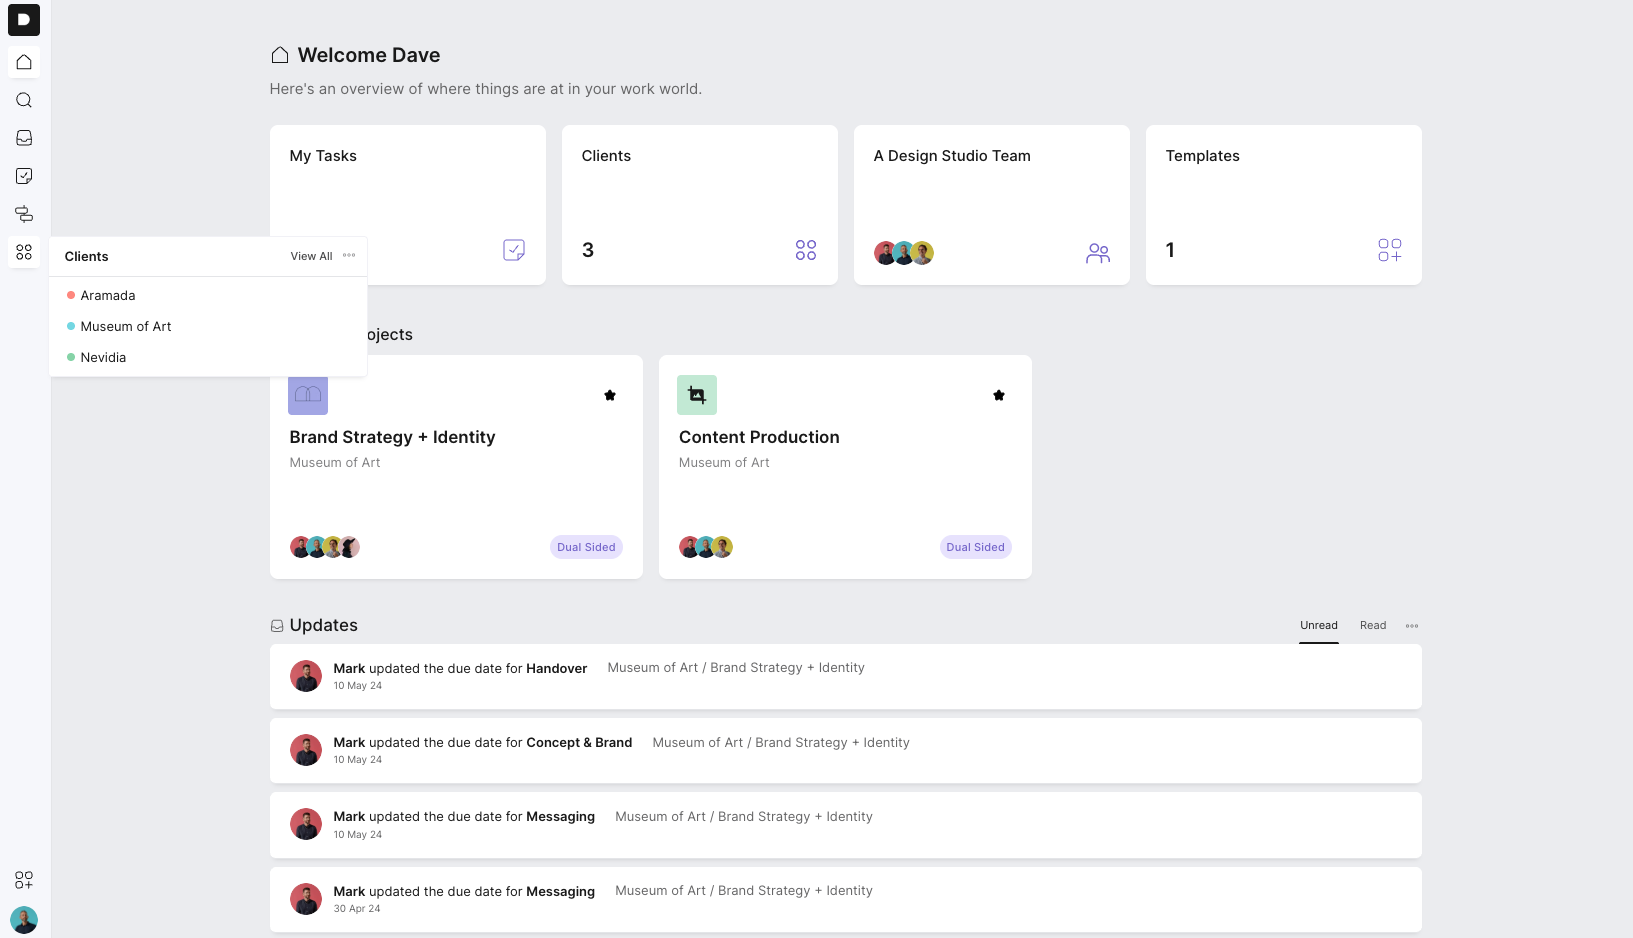
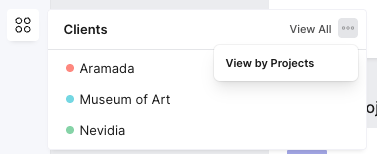
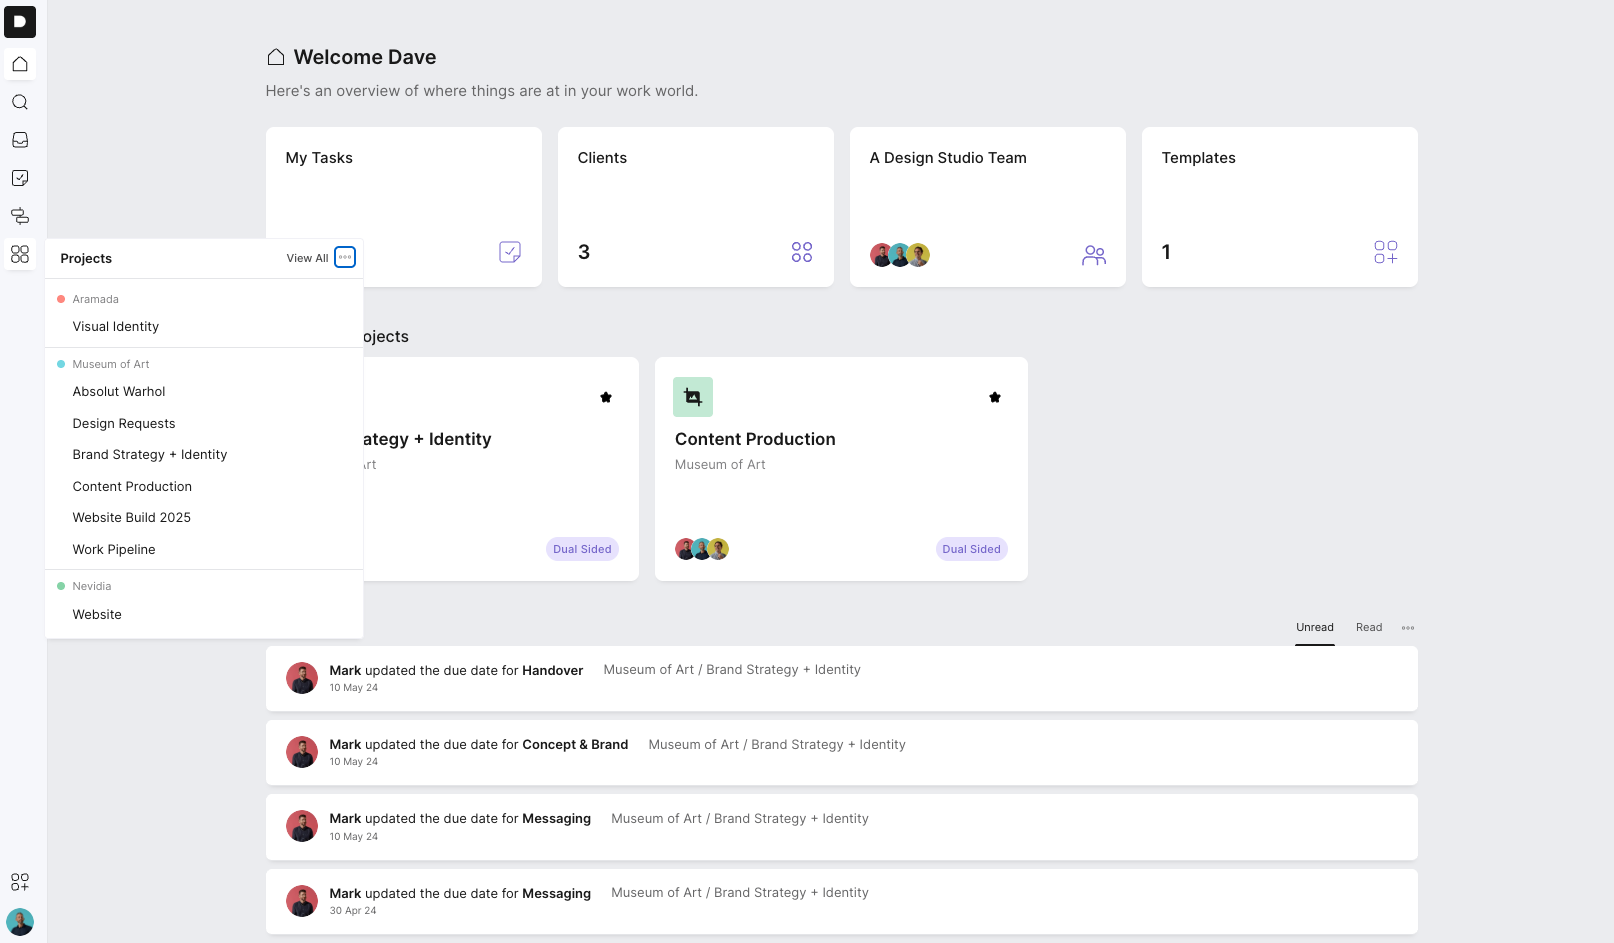
Under Projects in the sidebar, you’ll see two different ways to view your clients. You can switch between them at any time using the toggle.
Client view
This shows a simple list of clients only. It’s ideal if you want a clean, high-level overview.
Client + project view
Toggle this on if you prefer to see clients and their projects together in one list.
This gives you more context and lets you interact with projects directly from the sidebar.
If you want to dive deeper, click View all to open the dedicated client view.
From here, you can:
See all clients and their projects together
See whether a project is single-sided or dual-sided
See who is assigned to each project
Jump straight into any project
Favourite projects so they appear on your dashboard and homepage for quick access
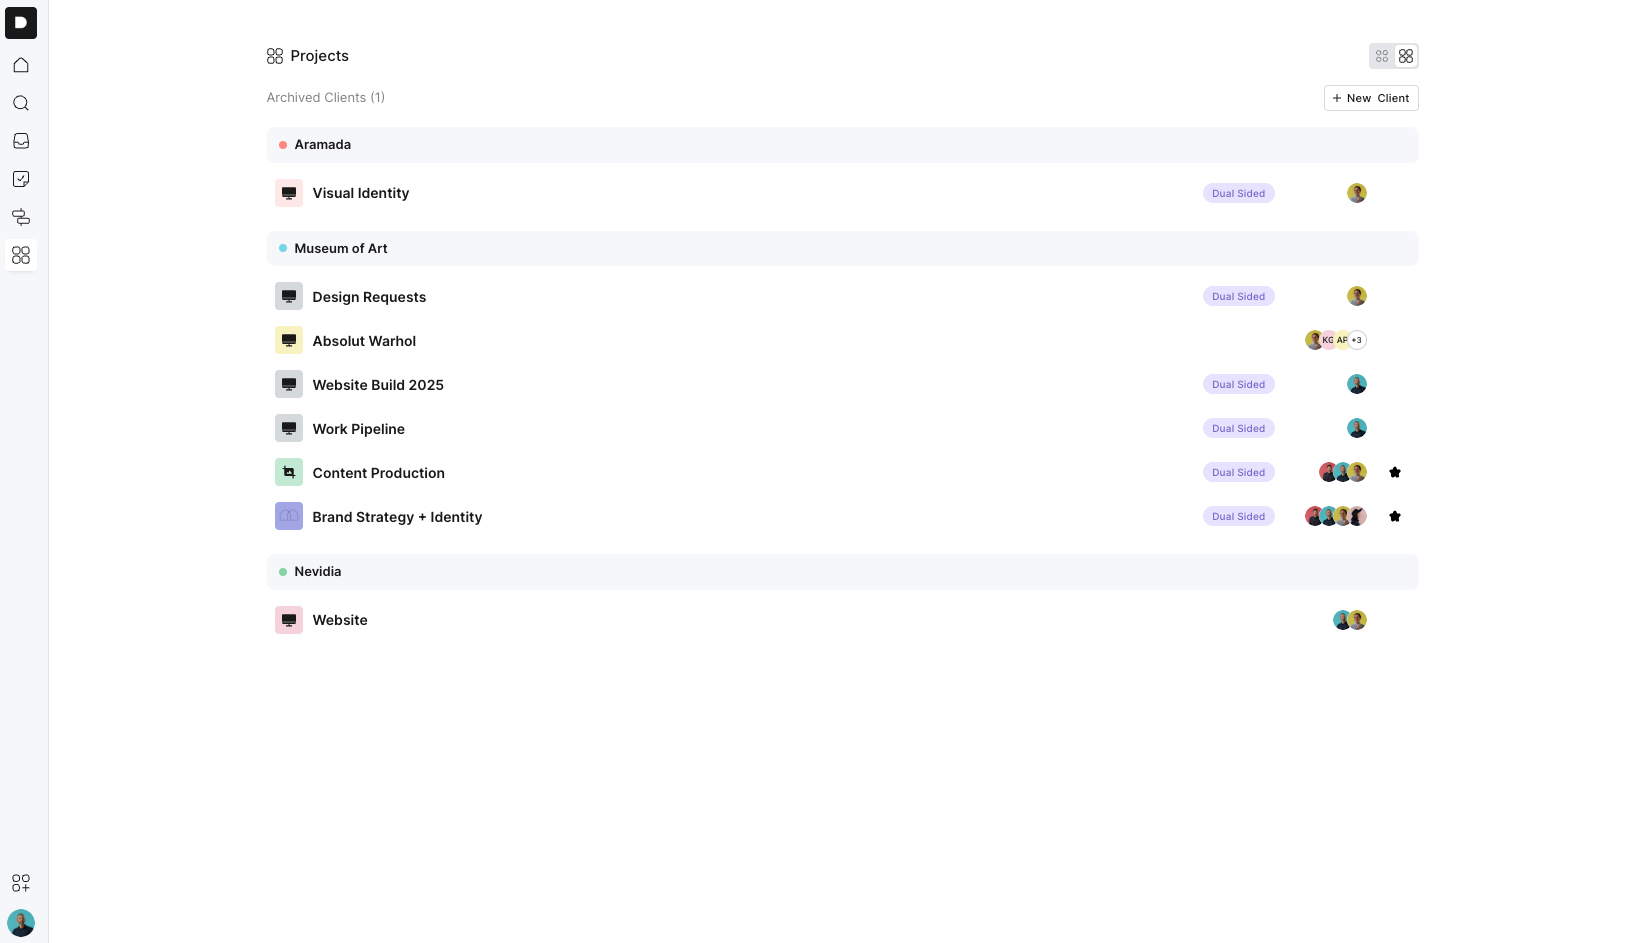
This view is designed to give you more visibility across clients while still making it easy to jump into the work.
No matter which view you’re using, you can always:
Create a new client
Create projects under a client
Navigate directly into projects
That’s it, go add your clients!
