Our Scheduling feature is designed to provide you with full visibility and control over your team's capacity and project planning, all in one place.
Here’s how to get started:
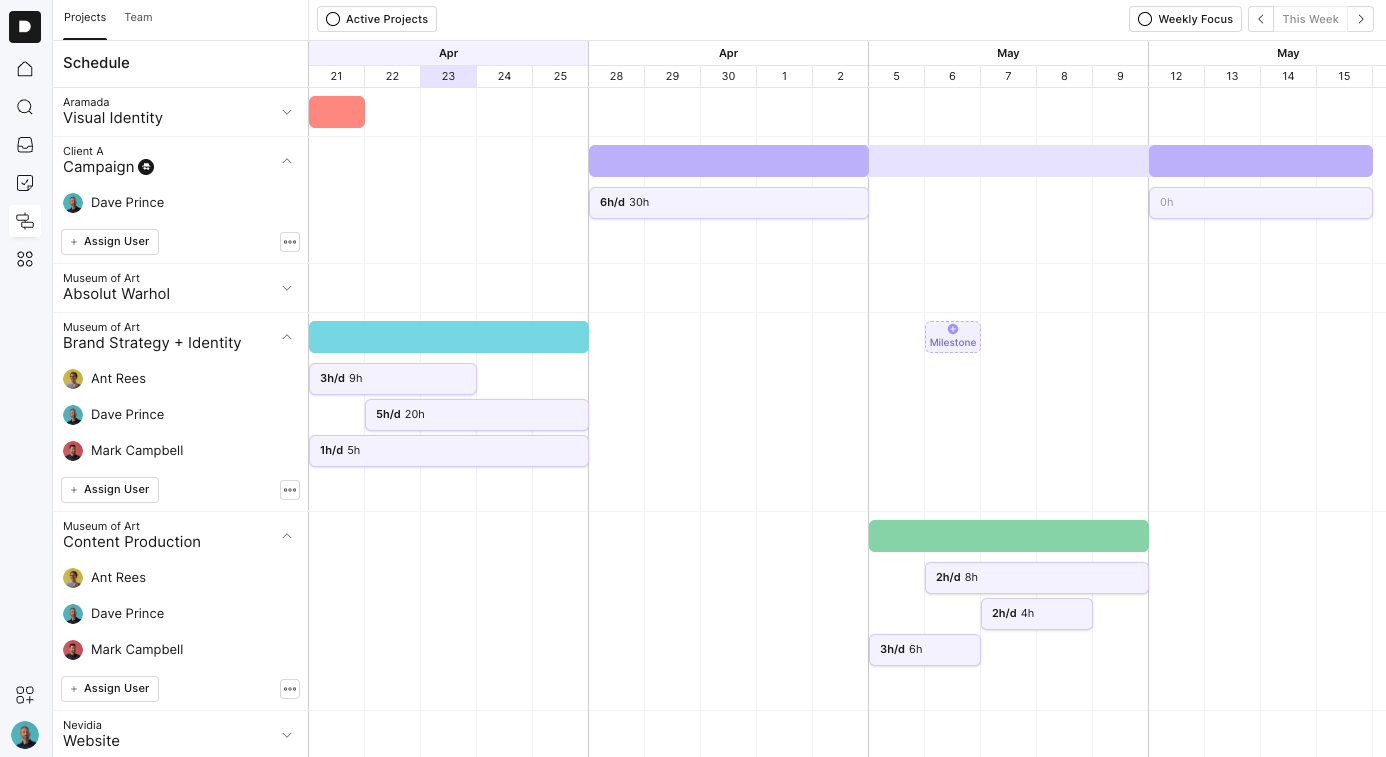
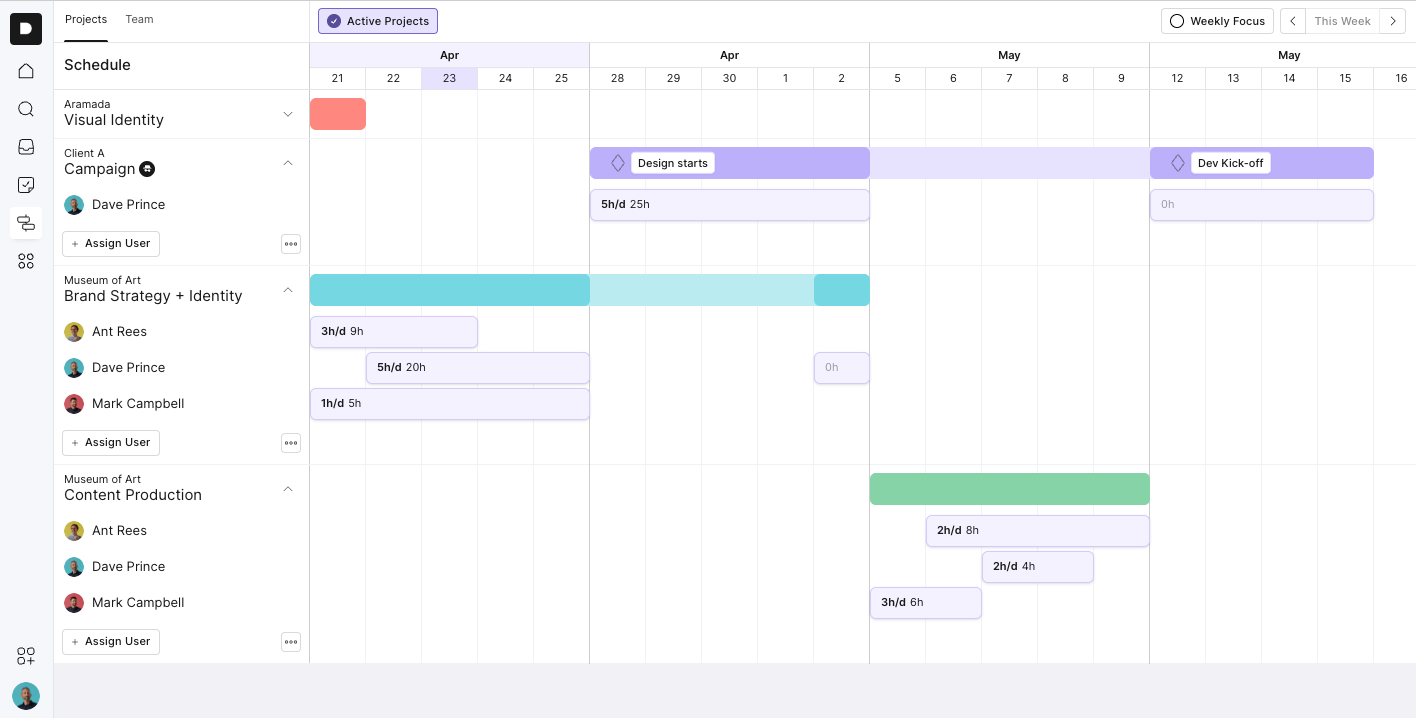
On the left-hand side, you’ll see a list of all your active projects, grouped by client name. These are pulled automatically from your Project workspace, so there’s no need to manually add them.
Click on a project
Hit Assign next to the project timeline
Select the team member you want to allocate
Drag and drop their assignment into the relevant day(s) on the calendar
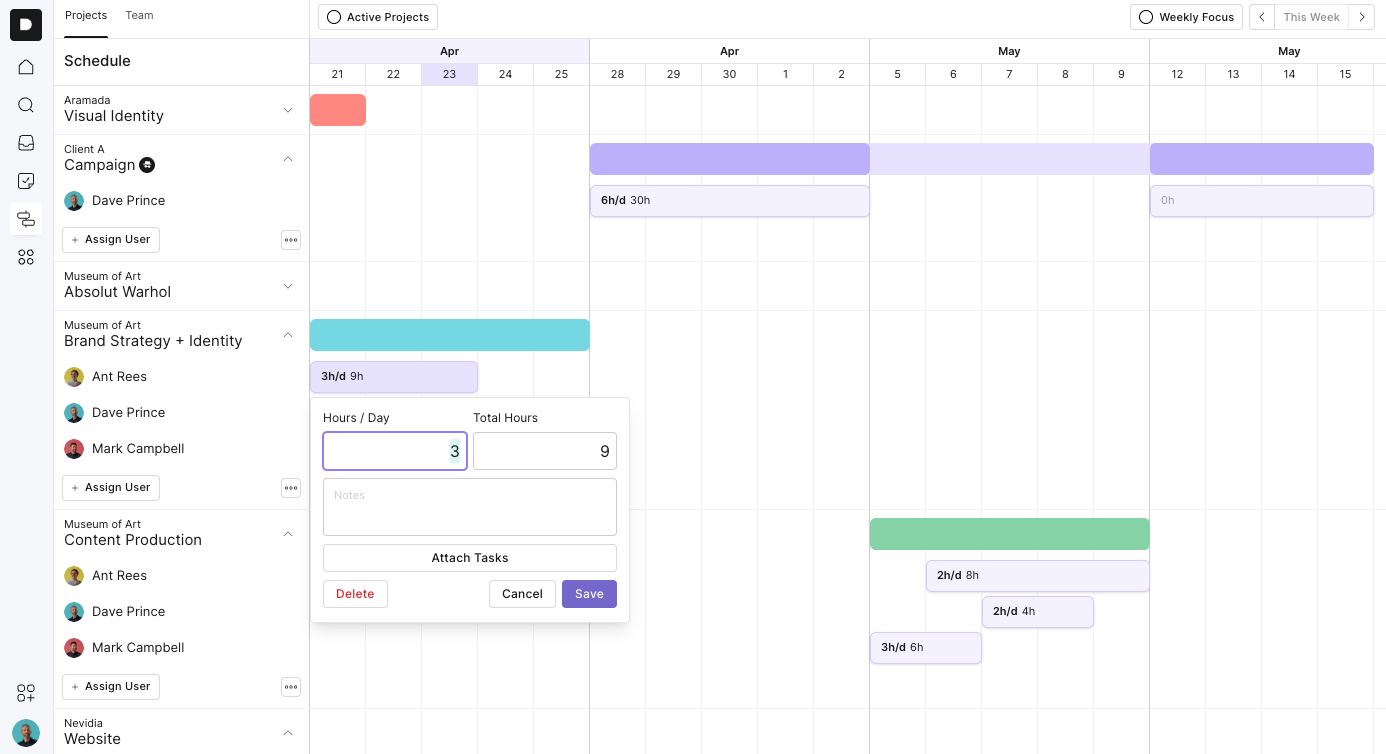
Once a person is assigned:
Click on the block of time
Enter the number of hours (e.g. 3 hours)
Add any notes for context
You can stretch the assignment across multiple days or split it however you need
Once you’ve selected your hours and added any notes, it’s time to attach tasks. This step links the time you’ve just planned to real project work, keeping everything organised and accountable.
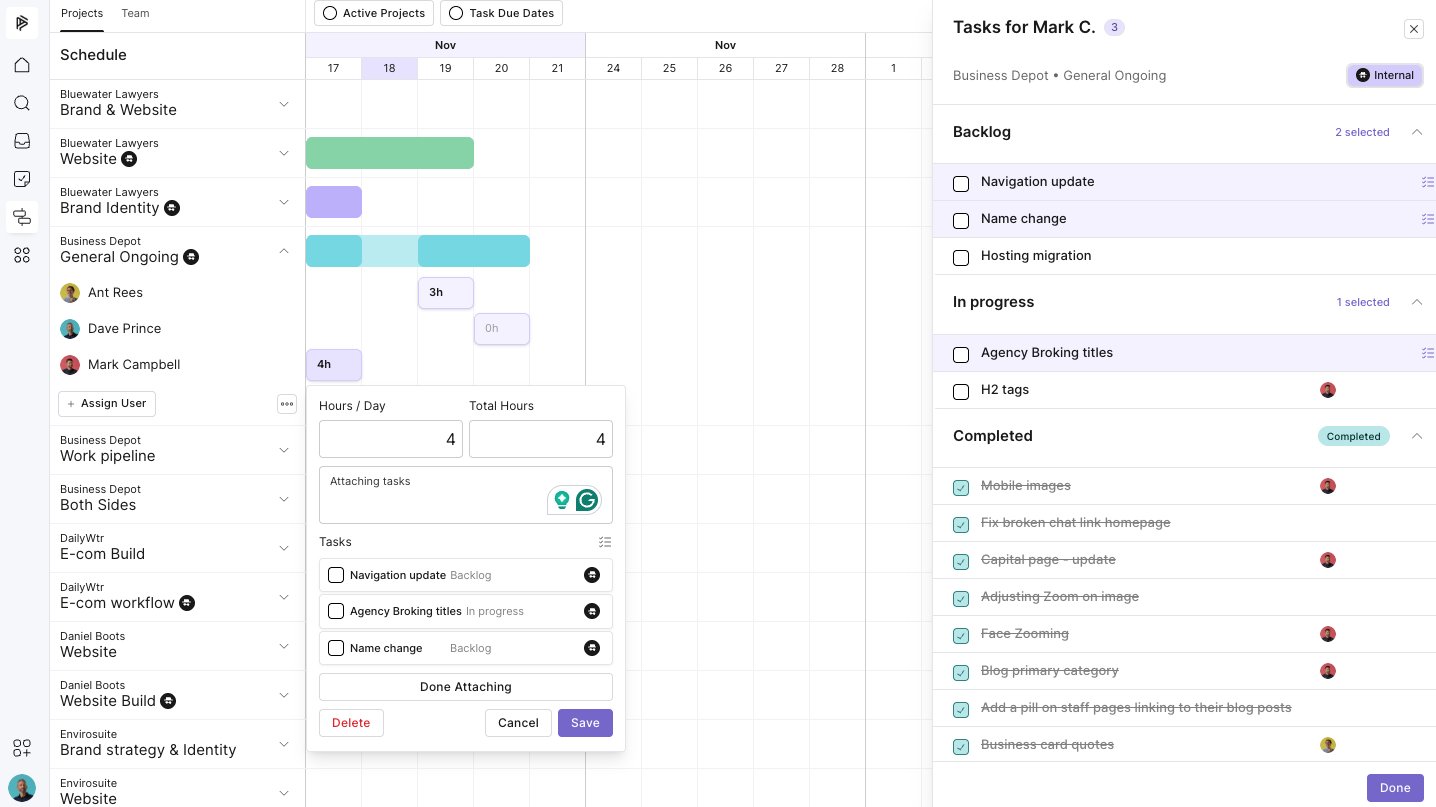
Press “Attach Tasks”.
This opens a drawer on the right-hand side.
View the project’s process.
Inside the drawer, you’ll see a full process view of the project you’re scheduling for — organised by phases and steps. Each phase expands to show the tasks available to attach.
Attach the relevant tasks.
Click Attach next to any task to link it to the hours you’re assigning.
You can attach multiple tasks, even across multiple phases, in a single action.
Optional: Assign tasks directly from here.
In this same view, you can also:
Assign a task to a team member
Select a due date
This is especially handy during planning sessions when you want to organise work while scheduling time.
Switch between the Internal & Client sides of the project
Use the toggle in the top-right corner of the drawer to switch between:
Internal tasks, and
Client-facing tasks
This is useful if you prefer to schedule and assign tasks on a particular side of the project.
Press “Done”.
When you’re finished, hit Done, then Save to lock in the user’s scheduled hours and attached tasks.
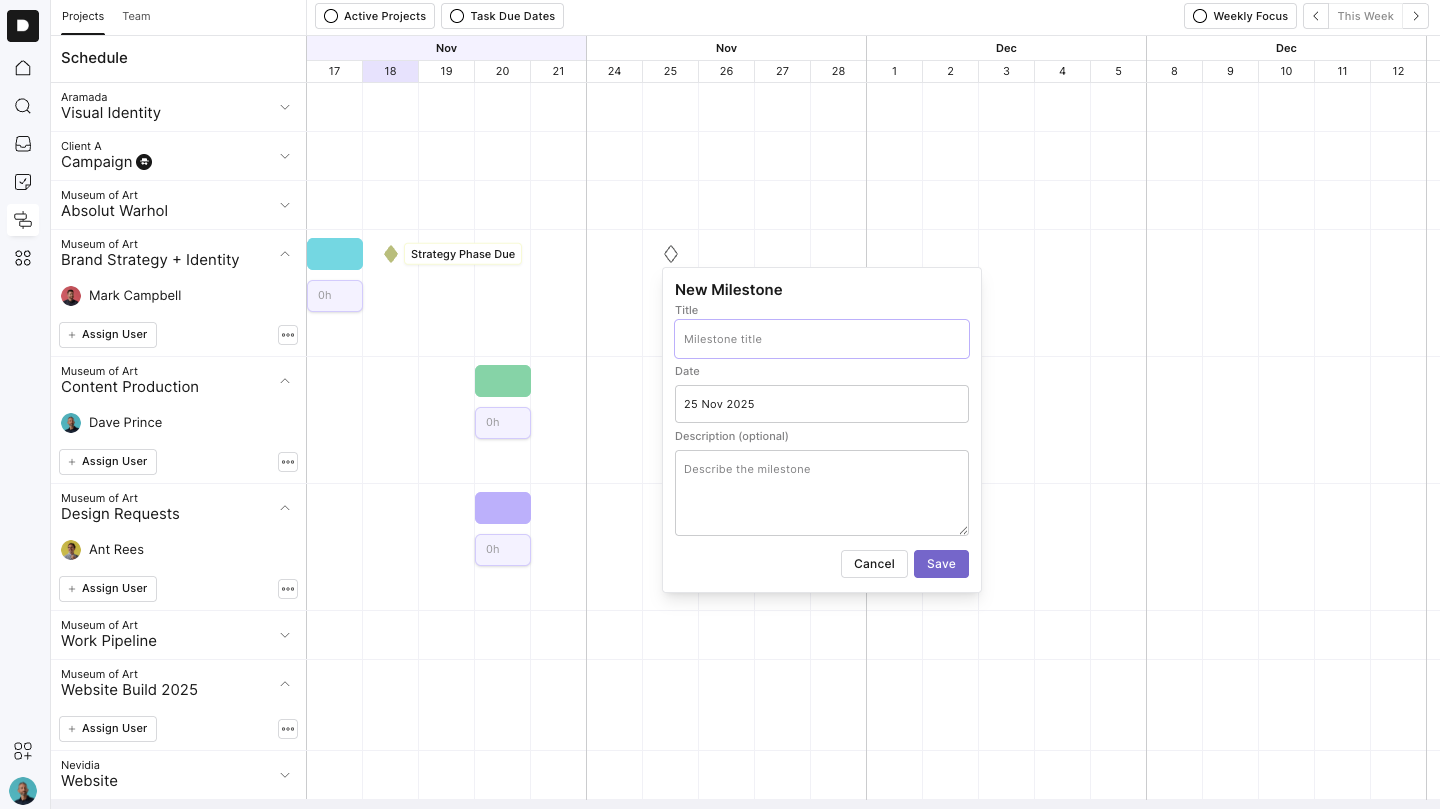
Milestones help mark major phases of the project, like when design starts or delivery is due
Click the colored bar at the top of the project
Select Milestone
Give it a name (e.g. “Design Starts”), choose a date, and add a description
Save your milestone
You can drag milestones to adjust dates later.
You can:
Drag hours to another day or week
Resize assignments to increase or reduce hours
Delete work if it drops off the radar
Archive completed projects using the three-dot menu
Change project colours to visually organise your schedule
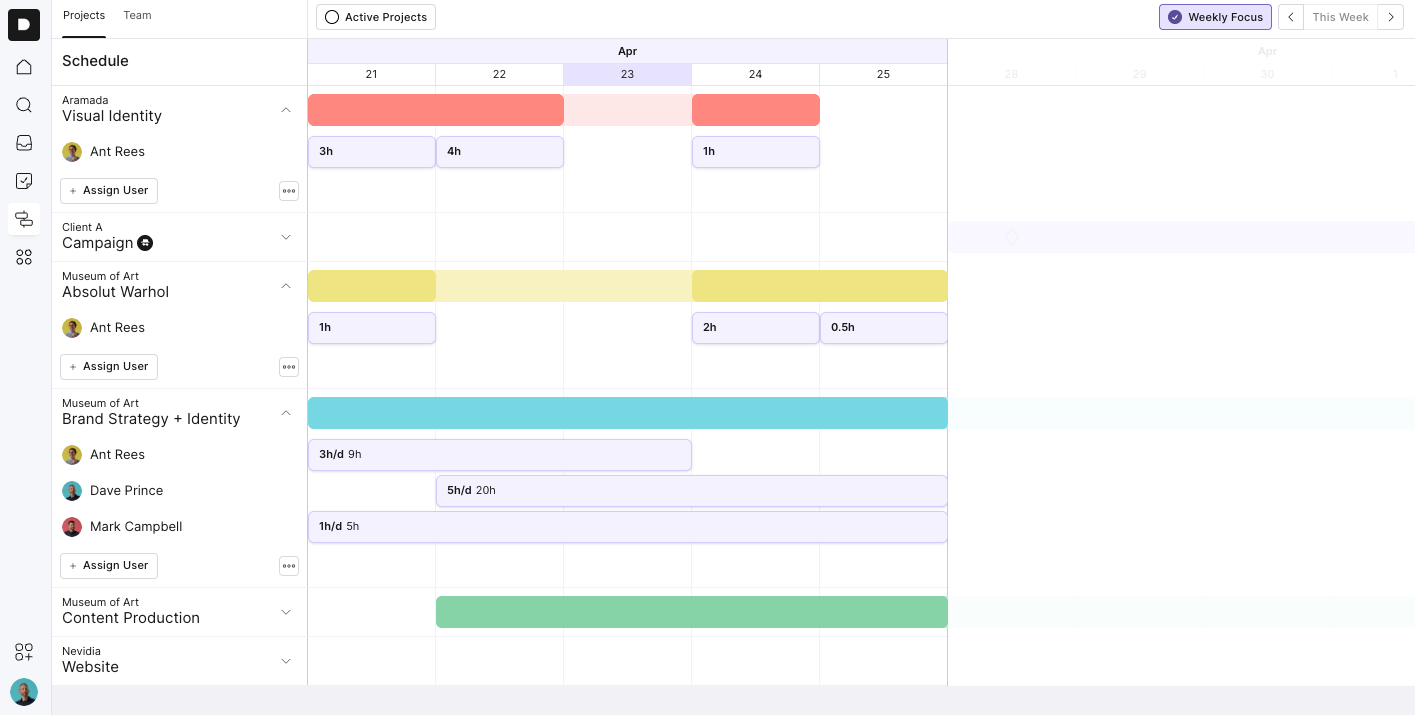
Use the Active Projects toggle to hide any paused or non-scheduled projects. This keeps your schedule clean and focused.
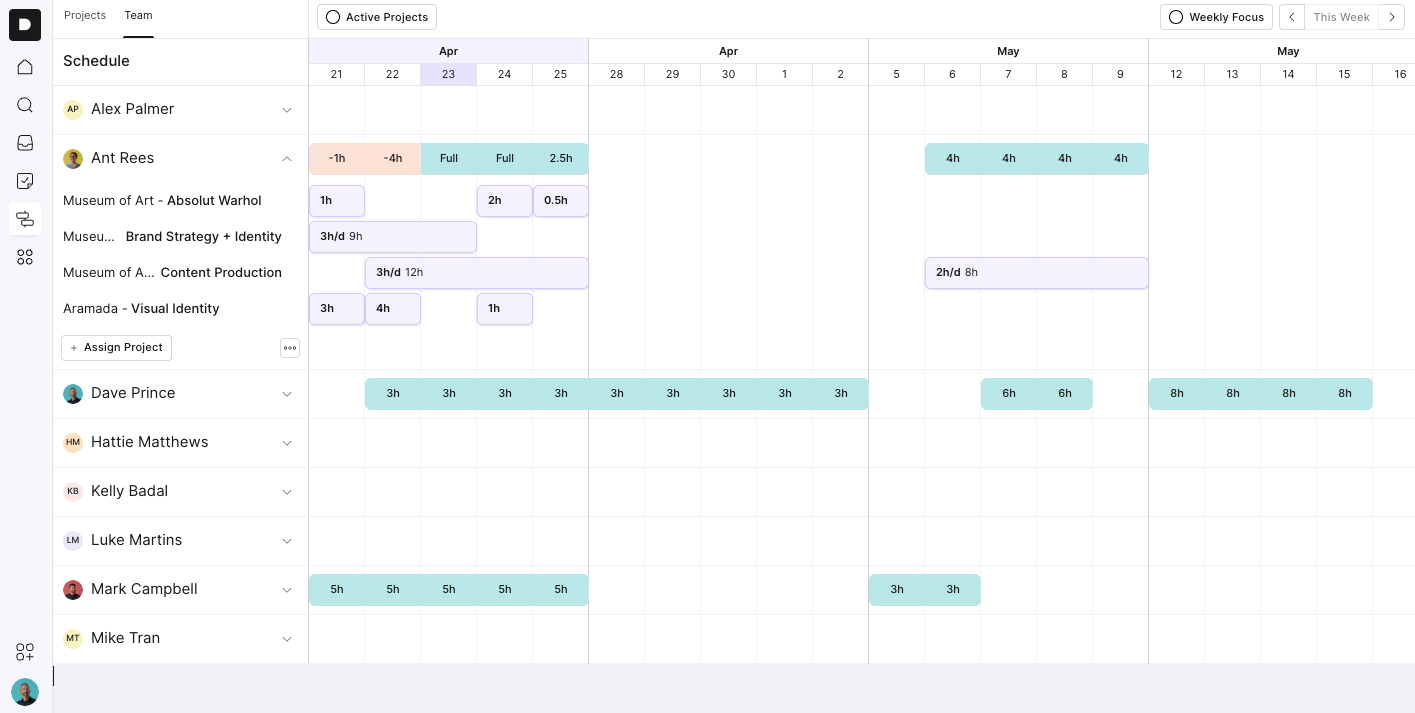
Head to the Team tab (at the top) to see everything from a team capacity view:
See each person’s total assigned hours
Drop down to see which clients and projects they’re working on
Adjust hours right from the team view and it syncs with the project schedule
If someone’s overbooked, their hours will highlight in red so you can rebalance the load before it becomes a problem
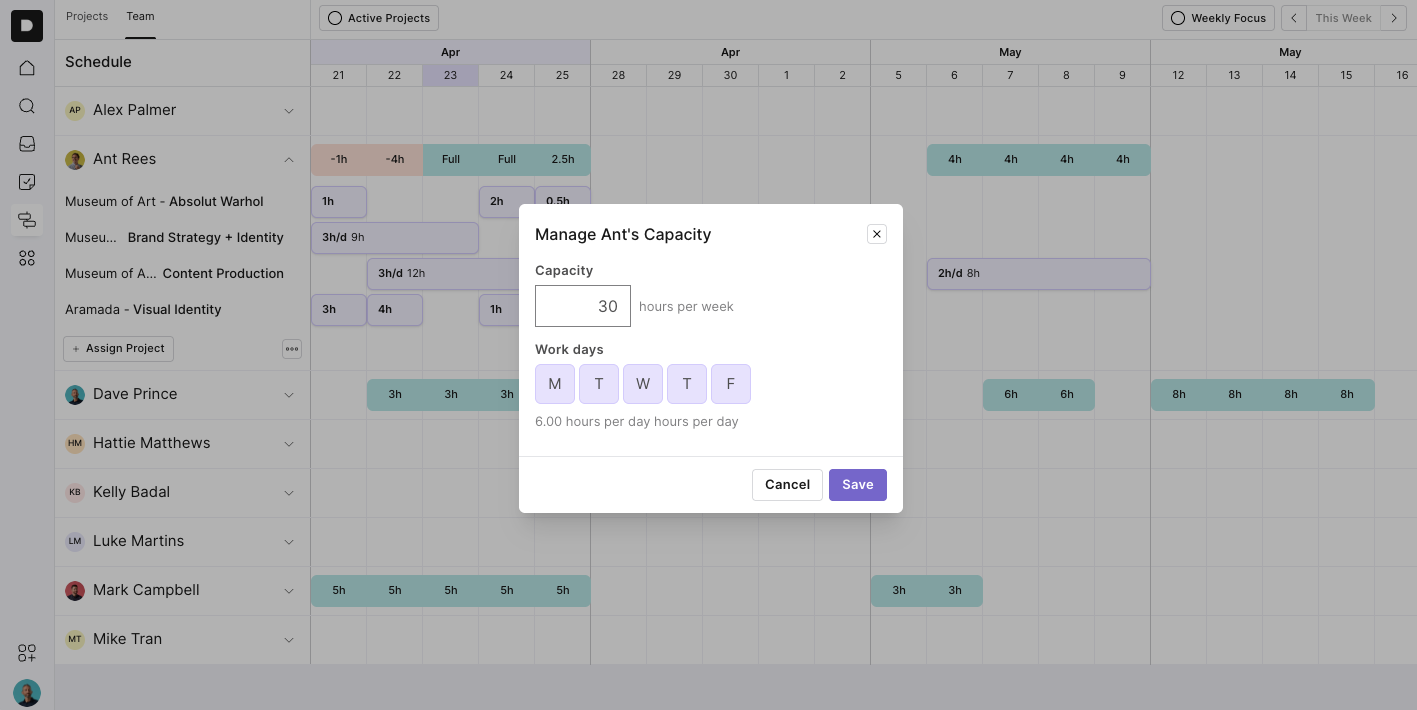
To set each person’s weekly availability:
In the Team view, click the three dots next to a team member’s name
Select Manage Capacity
Enter their weekly hours and number of workdays
Outlign will automatically calculate their daily availability
This helps you plan work that fits within each person’s real schedule
Use Week View to zero in on what’s happening this week. It’s a great way to stay on top of deliverables and keep your team aligned.
That’s it. With Scheduling, planning your week (or month) is faster, smarter, and more visual, just how it should be. If you’ve got questions or feedback, reach out to our support team anytime.
