You can make your Outlign workspace feel like yours — add your logo, tweak colours, and even brand projects to match your company or your clients.
Here’s how you can do it 👇
You can upload your company logo so it appears in the top-left corner of your workspace. Your team and clients will see it when they log in.
To update your logo:
Go to Settings → Company Profile
Click Upload Logo
Save — and you’re done!
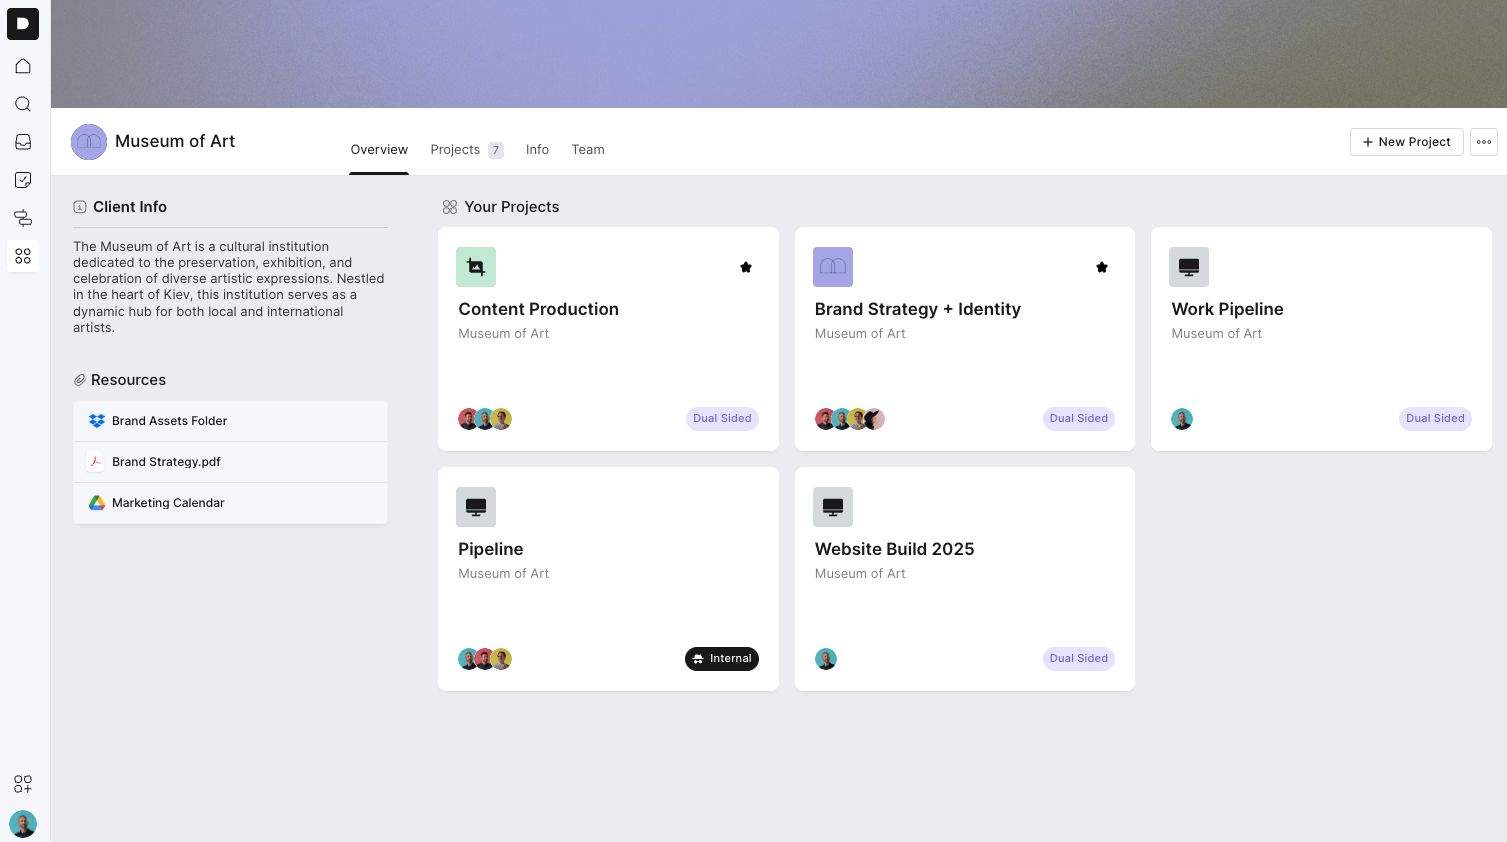
When you launch projects for a client, you can make their workspace feel completely on-brand — perfect for a polished client experience.
Here’s what you can customise:
Client Avatar: Swap the avatar to their company logo so it displays in the top-left corner.
Header Image: Upload a branded header image (like a cover photo) that feels specific to their brand.
To do this:
Open the client workspace
Click the avatar to upload their logo
Click Edit Header to upload a custom image or choose a preset colour
As shown in the screenshot below, this helps create a fully branded environment for your clients — complete with their logo, colours, and tailored header.
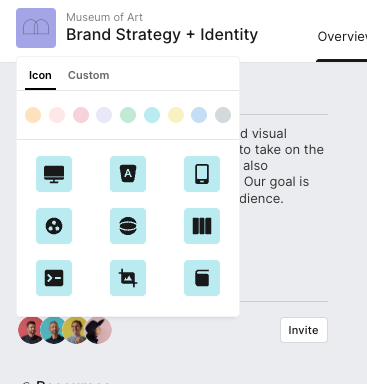
Each project has a small icon next to its name — that’s the avatar. You can swap this out for something custom (like the client’s logo)
To change a project avatar:
Open your project
Click the avatar icon beside the project name
Choose one from our library or upload your own
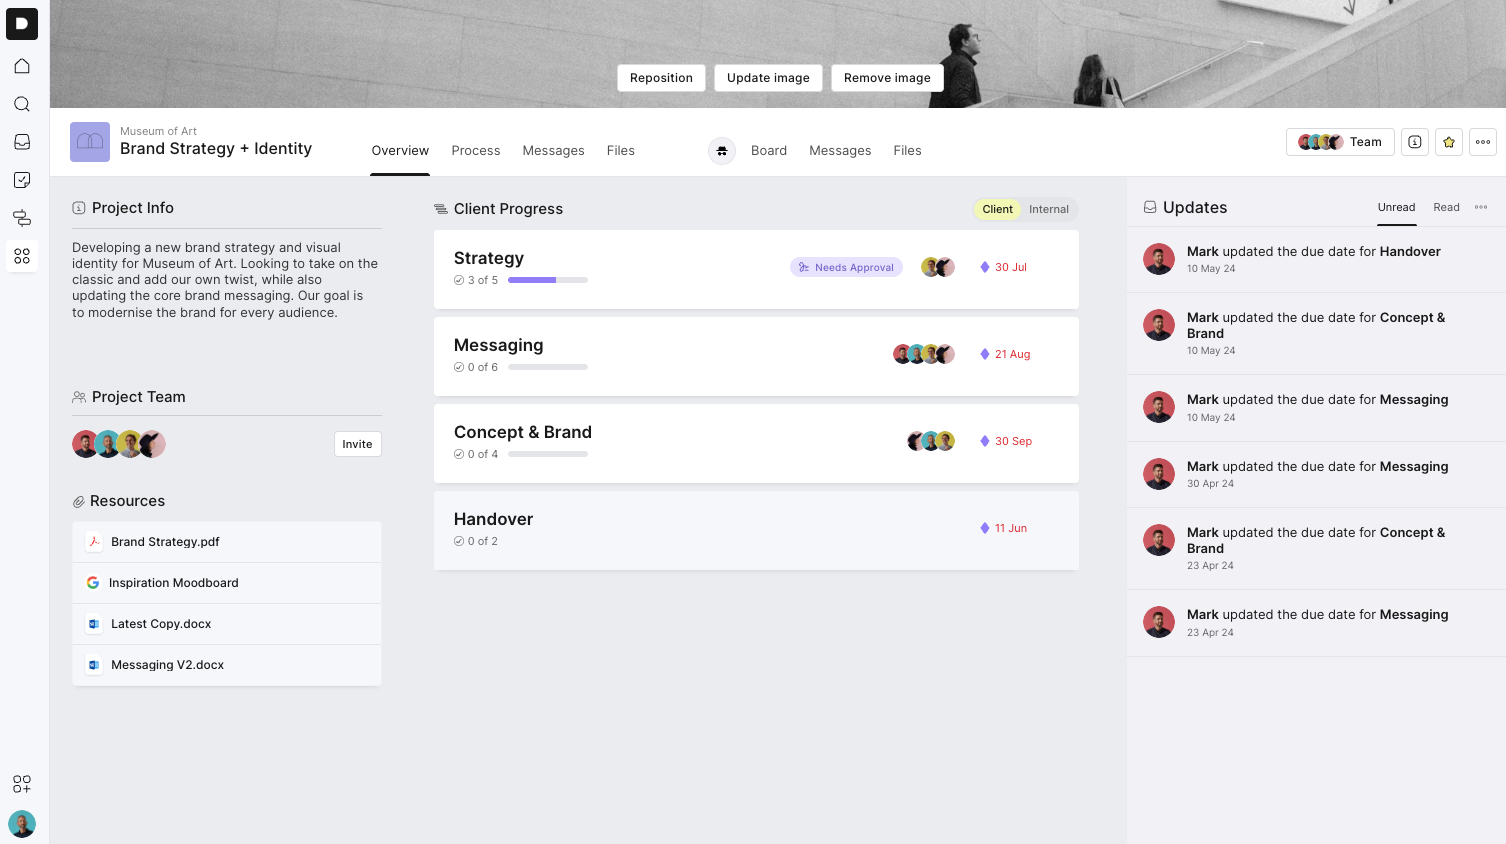
You can also customise the header at the top of each project. Choose one of our preset colours or upload your own branded image for a bit more personality.
To update your header:
Open your project
Click Update Image
Choose a colour or upload an image
A Quick Tip
Some agencies make each project feel like their client’s own branded workspace. Others use this area to keep their own agency branding front and centre. You can go either way — whatever feels right for your setup!
We’re working on more ways to brand your workspace — including theme presets and deeper colour customisation. Watch this space!
