The Files tab gives you one organised place to find every file that’s been uploaded anywhere inside a project, whether it was added to a task in a board project or a step in a process project. As projects grow and more files start flying around, this view makes it fast and easy to track down exactly what you’re looking for.
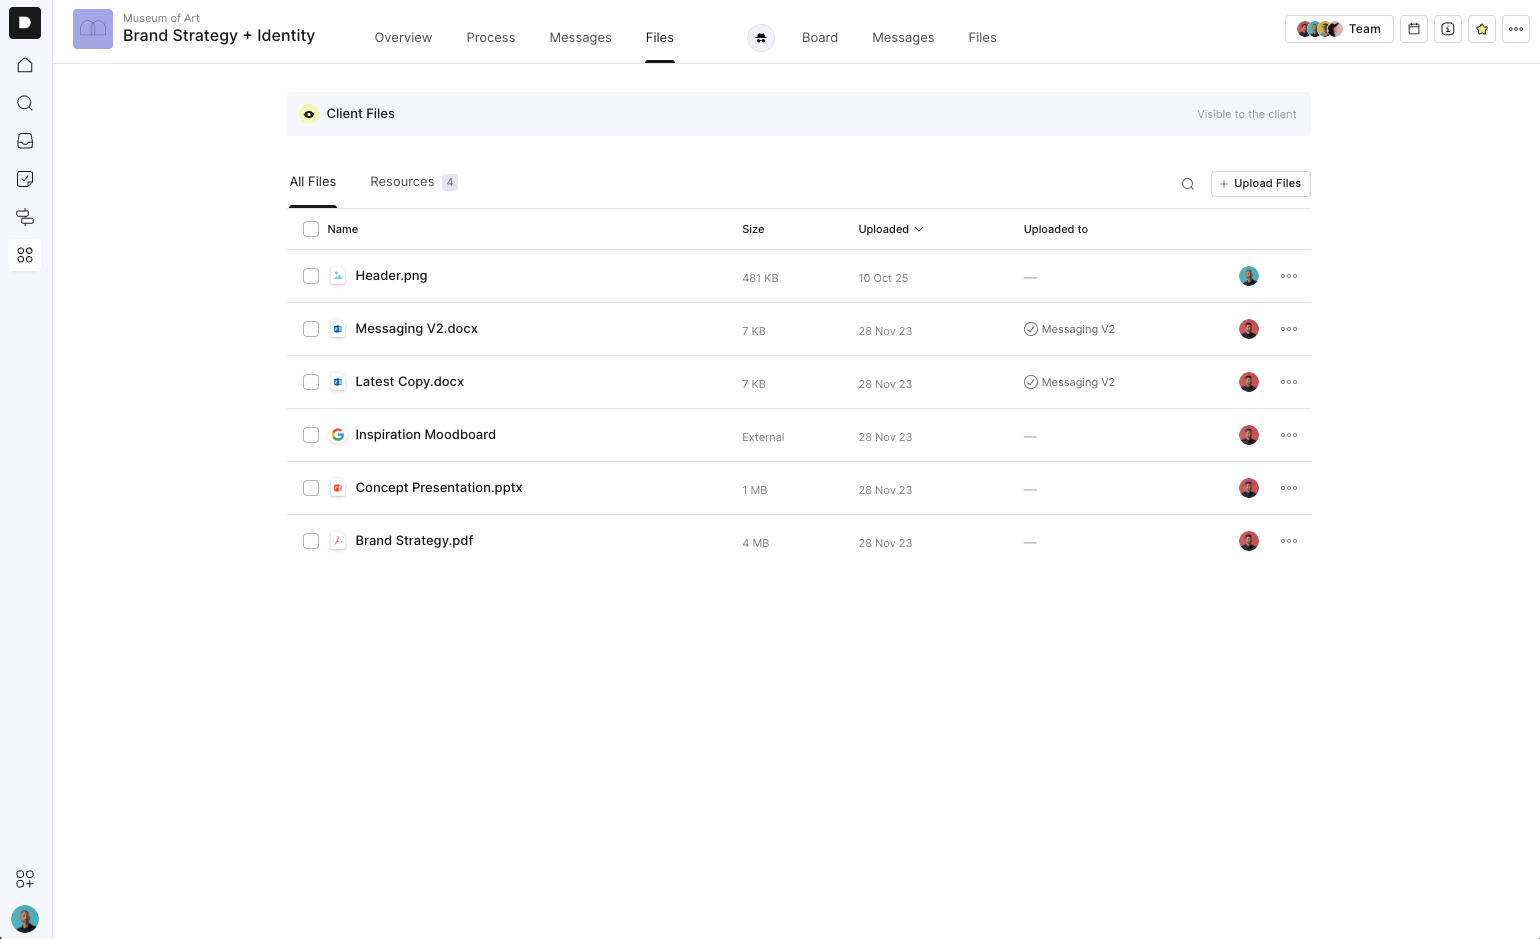
Every file uploaded within the project is automatically listed here. For each file, you’ll see:
File name
File size
Upload date (sortable ascending or descending)
Where it was uploaded (deep-linked to the task or step)
Who uploaded it
More options (via the three-dot menu)
You can click the linked step/task to jump straight to the place where the file lives.
Search using the magnifying glass
Upload files directly from this view
Download any file
Copy file link
Pin or unpin a file to the project dashboard or client dashboard
Delete a file
Select multiple files to bulk download (as a ZIP) or bulk delete
This makes it easy to manage large numbers of files as a project progresses.
You’ll also see a Resources tab.
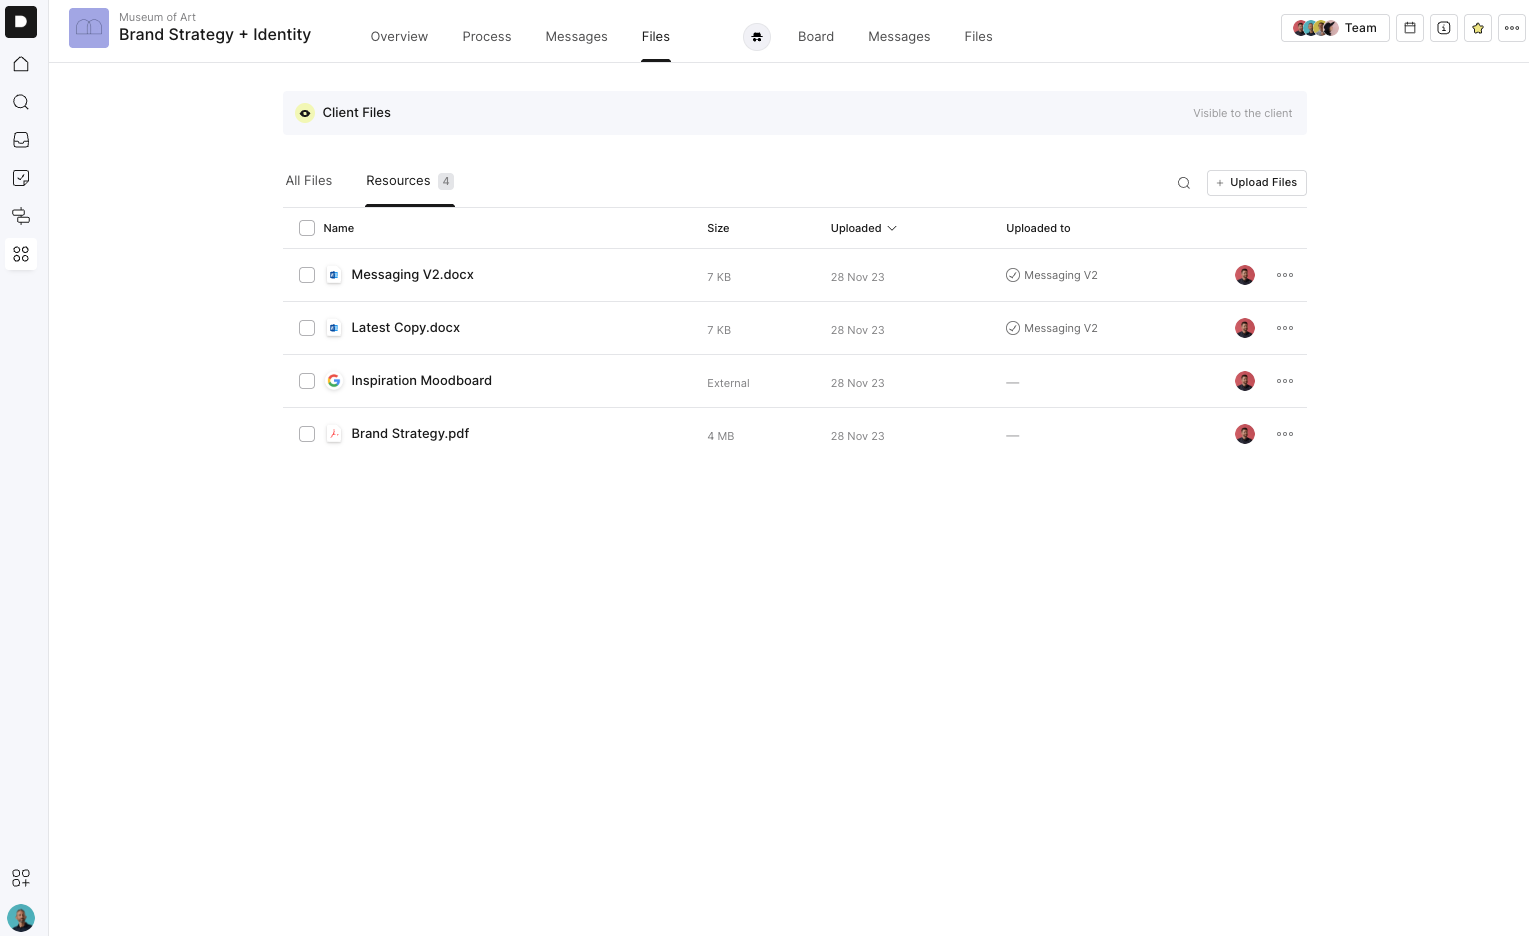
A resource is simply a file that you’ve chosen to give more prominence, something important enough to display on the project’s Overview/Home screen. Common examples include:
Scope of Works
Brand guidelines
Contracts
Project assets that need quick access
You can make a file a resource in two ways:
From the project Overview by adding a resource
From the Files tab by marking an existing file as a resource
Both paths lead to the same outcome: that file becomes highlighted on the project’s home screen so the whole team and client can find it instantly.
Project Files keeps every asset neatly organised so you can quickly search, filter, and trace files as your project grows, saving time and reducing the back-and-forth that usually comes with long-running client work.
